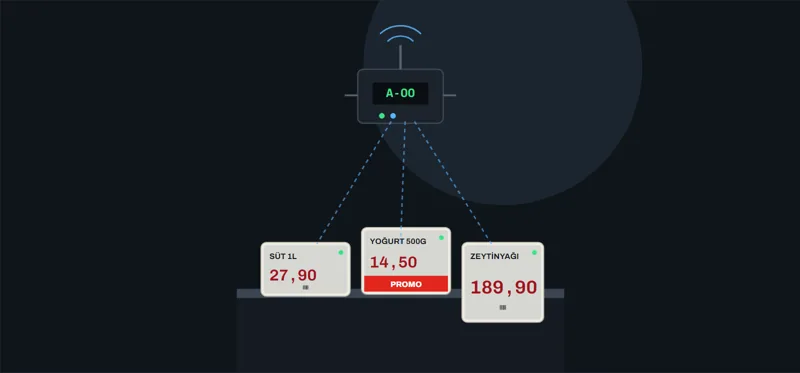
Full control of your checkout conveyor from one panel
The GNG control unit runs the checkout belt with an optical sensor: it stops the belt the moment an item reaches the sensor and protects both the motor and the people using it. It hangs under the counter and puts every key on one panel.
- Operating modes
- 2
- Indicator LEDs
- 4
- Warranty
- 24 mo
- Supply
- 100–240 VAC
One unit instead of scattered boxes
The new circuit board brings every function that runs the conveyor into one enclosure, and every key onto one panel.
Before
- Functions spread across separate devices
- Keys in different places
- More cables, longer installation
- Tracing a fault takes time
Now, with GNG
- Every function on one board
- Every key on one panel
- Tidy wiring, quick installation
- 4 indicator LEDs point to the fault
It sits under the counter and runs every move of the belt
The customer puts items on the belt, the belt carries them to the cashier, and the moment the sensor sees an item, the belt stops.
- K1GNG control unitHangs under the counter on brackets.
- B1 B2Optical sensor pairDetects the item at the end of the belt.
- M1Belt motorControlled from the unit.
- P6RGB lane lightGreen: checkout open. Red: checkout closed.
- S6Foot pedalStarts the belt by foot.
An invisible beam is what stops the belt
Two sensors face each other at the end of the belt: the transmitter sends a beam, the receiver watches for it. The moment the beam is broken, the unit stops the belt.
-
Beam unbroken
Nothing between the sensors; the belt carries the item forward.
Belt running -
The item breaks the beam
The item reaches the sensor and the belt stops at once.
Belt stopped -
The item is taken
The beam is clear again. The belt resumes with START in manual mode, on its own in automatic mode.
Ready to run
Compatible transmitters: 36 kHz and 38 kHz. The unit works with either type.
Both modes start the same way and part once the item is taken
In both, START runs the belt and the belt stops when an item reaches the sensor. Manual mode needs START for every cycle; in automatic mode the belt follows the items by itself.
Manual mode MANUEL
- START runs the belt; it stops when an item reaches the sensor.
- Once the item is taken, press START again to continue.
- If no item arrives within 10 s, the belt stops. To continue: START.
Automatic mode AUTO
- Press START once; the belt stops at every item.
- When the item is taken, the belt restarts by itself.
- If no item arrives within 30 s, the belt stops. To continue, pass an item between the sensors.
In both modes: pressing MANUEL or AUTO while the belt runs stops the belt.
Try it yourself
Press the panel keys, put items on the belt and trigger fault scenarios. The line under the scene explains what the unit is doing.
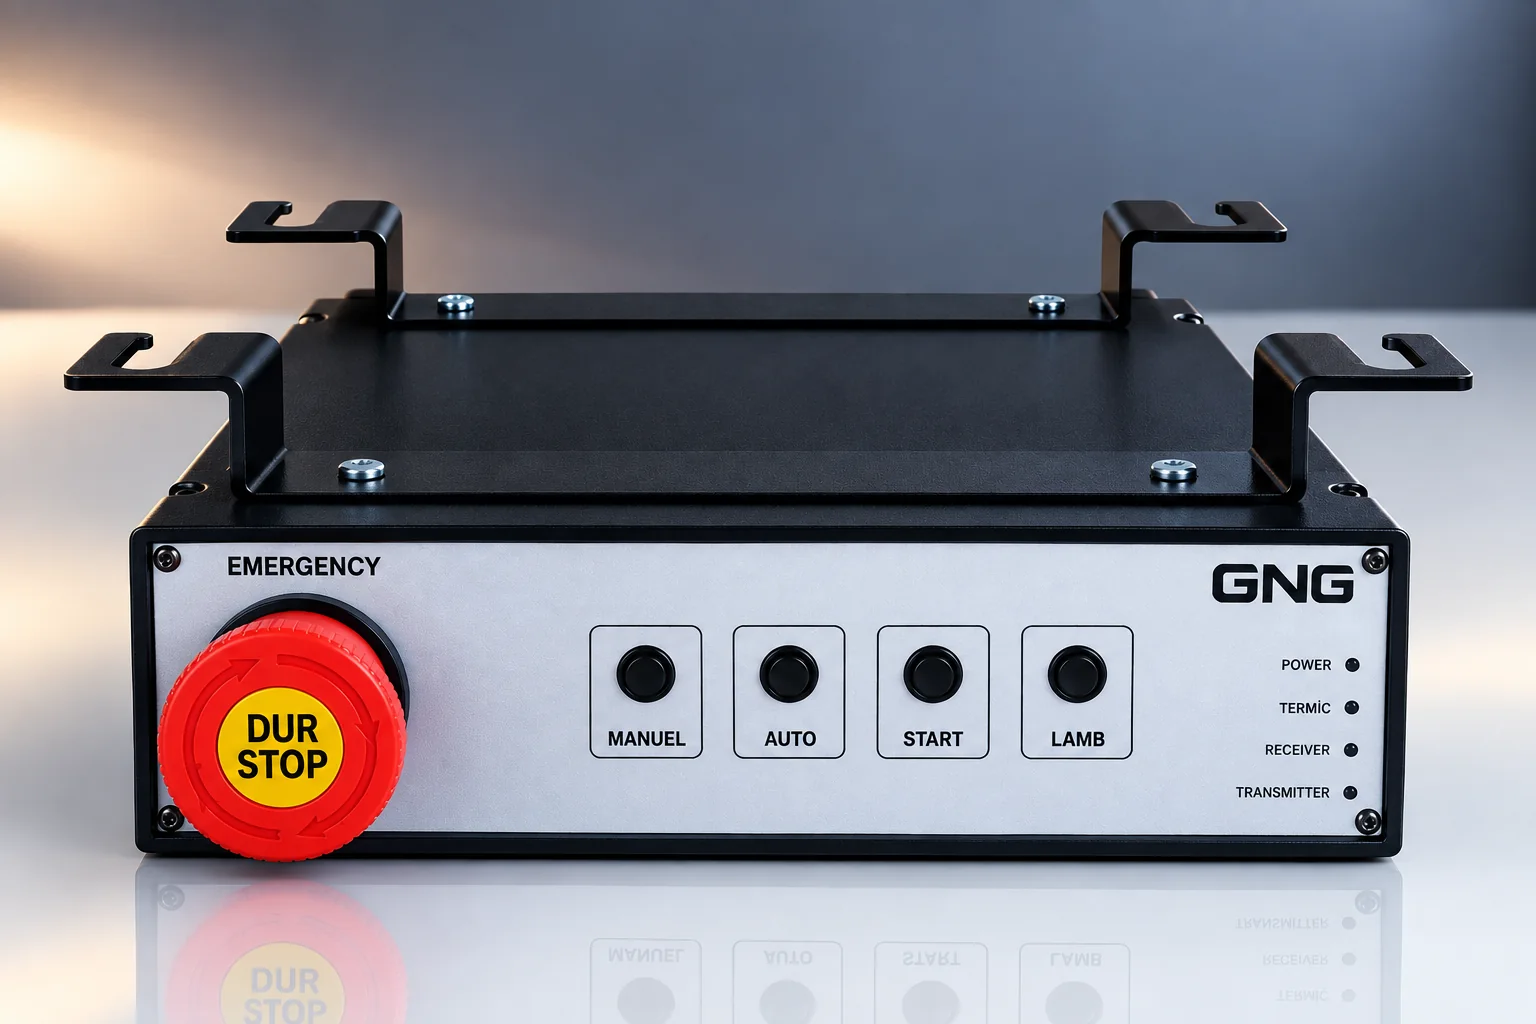
Nine elements on the front panel, each with one job
The red button on the left stops, the keys in the middle control, the LEDs on the right report.
Controls
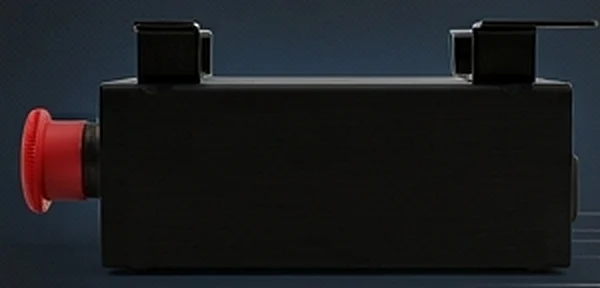
- S1DUR/STOPEmergency stop. Stops everything instantly; twist to release.
- S2MANUELSelects manual mode. Pressed while the belt runs, it stops the belt.
- S3AUTOSelects automatic mode. Pressed while the belt runs, it stops the belt.
- S4STARTStarts the belt when nothing is between the sensors.
- S5LAMBSwitches the lane light: checkout open or closed.
Indicators
- P1POWERShows that the unit has power.
- P2TERMİCLights when the motor overheats; the belt stops.
- P3RECEIVERReceiver sensor status. Steady light: replace it.
- P4TRANSMITTERTransmitter sensor status. Steady light: replace it.
Reference designators follow IEC 81346: S for keys, P for indicators.
Three layers of protection for the user, the board and the motor
One is triggered by hand; the other two step in on their own.
S1Emergency stop
Protects the userBy handStops the belt instantly in any abnormal situation, such as a belt jam or an unusual noise from the motor.
Twist the button to release it.
F1Fuse
Protects the boardAutomaticBlows on sudden mains voltage surges and protects the circuit.
To replace it, pull out the fuse holder on the AC power inlet.
F2Thermal protection
Protects the motorAutomaticIf the motor overheats after long hours without a break, it stops the belt and lights the TERMİC LED.
Once the motor cools down, the unit is ready again.
Four LEDs and a buzzer tell you how the unit is doing
In normal operation POWER is lit; TERMİC, RECEIVER and TRANSMITTER do not stay lit.
| Indicator | Normal | Warning | What to do |
|---|---|---|---|
| P1 POWER | On: power present | Off: no power | Check the power switch, emergency stop, power inlet and socket, in that order. If all are fine, call technical service. |
| P2 TERMİC | Off | On: motor overheated, belt stopped | Let the motor cool down; it can then be used again. |
| P3 RECEIVER | Not steadily lit | Steady: receiver sensor faulty | Replace the receiver sensor. |
| P4 TRANSMITTER | Not steadily lit | Steady: transmitter sensor faulty | Replace the transmitter sensor. |
| P5 Buzzer | Short beep on every key | Audible alarm on a sensor fault | No beep when you press the keys: contact technical service. |
Everything a checkout conveyor needs, in one unit
Nine features that simplify installation and daily use, and make faults visible.
-
Single circuit board
Every function on one newly developed board.
-
Single panel
All keys in one place for quick, simple installation.
-
36 / 38 kHz compatible
Works with both transmitter sensor types.
-
Foot pedal
The belt can be started with a foot pedal.
-
Running-time counter
Counts and shows how long the unit ran during the year.
-
RGB lane light
Green when the checkout is open, red when closed; on the side or top of the checkout.
-
Two operating modes
Manual and automatic, switched with a single key.
-
Audible and visual alerts
Four indicator LEDs and a buzzer.
-
Lightweight PLA enclosure
Lightweight PLA plastic body with mounting brackets.
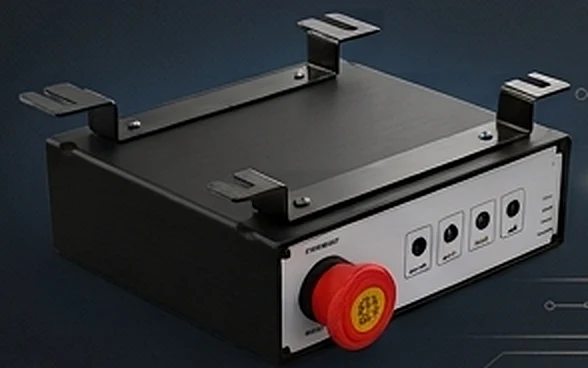
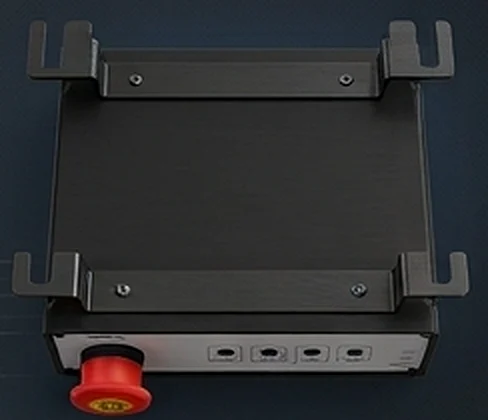
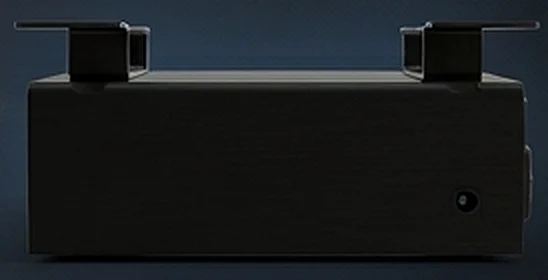
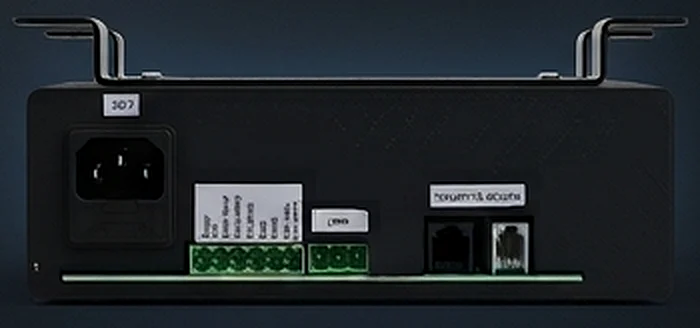
Lightweight PLA enclosure, mounting brackets, one front panel
The compact box hangs under the counter: controls at the front, connections at the back.
Technical data and connections
Compiled from the operating conditions of the GNG control unit.
| Supply voltage | 100–240 VAC |
|---|---|
| Mains frequency | 50–60 Hz |
| External lamp | max. 100 W |
| Fuse | In the AC inlet, replaceable |
| Operating modes | Manual, automatic |
|---|---|
| Idle stop | manual 10 s, automatic 30 s |
| Controls | MANUEL, AUTO, START, LAMB, foot pedal |
| Sensor | Optical transmitter and receiver, 36 / 38 kHz |
| Indicator LEDs | POWER, TERMİC, RECEIVER, TRANSMITTER |
|---|---|
| Audible alert | Buzzer |
| Protection | Emergency stop, fuse, thermal |
| Lane light | RGB: green open, red closed |
| Enclosure | Lightweight PLA plastic, with mounting brackets |
|---|---|
| Counter | Annual running time |
| Warranty | 24 months |
| Service | Repair within 48 hours |
Connections at the back, mounting brackets on top
Every unit ships fully tested and ready to install.
- X1100–240 VAC, 50–60 Hz. The fuse holder (F1) is built into the inlet.
- X2Screw terminal blocks for external connections.
- X3Sockets for plug-in connections.
Four brackets on top let the unit hang neatly under the counter.
Four rules for a long service life
Four simple rules from the operating conditions that directly affect the life of the unit and its sensors.
- 100–240 VAC
Supply range
The supply must stay within this range, at 50–60 Hz.
- ≤ 100 W
External lamp
The lamp connected to the unit must not exceed 100 W.
Long breaks
Switch it off at the power switch before long breaks; the unit and its sensors last longer.
Continuous use
Avoid running it all day without a break. If thermal protection trips, let the motor cool down.
Something wrong? From symptom to fix
Many situations can be solved on the spot, without calling service.
The belt stopped by itself; no item, LEDs normal
- Likely cause
- Not a fault The idle time ran out: 10 s in manual, 30 s in automatic.
- What to do
- Manual: press START. Automatic: pass an item between the sensors.
START is pressed but the belt does not run
- Likely cause
- Something is between the sensors.
- What to do
- Take the item and try again; then check the LEDs.
No LED is lit
- Likely cause
- No power, or the fuse has blown.
- What to do
- Check the power switch, emergency stop, power inlet and socket; then the fuse. If it persists, call service.
Belt stopped, TERMİC lit
- Likely cause
- The motor overheated.
- What to do
- Let the motor cool down; give it breaks during long use.
Buzzer sounding, RECEIVER or TRANSMITTER steady
- Likely cause
- Sensor fault.
- What to do
- Replace the sensor whose LED stays lit.
No beep when pressing the keys
- Likely cause
- Buzzer fault.
- What to do
- Contact technical service.
Belt jammed, or an unusual noise from the motor
- Likely cause
- Mechanical problem.
- What to do
- Press the DUR/STOP emergency stop right away, then call technical service.
24-month warranty, repair within 48 hours
Once a faulty unit reaches us, it is checked, repaired and returned to you within 48 hours.
- Warranty
- 24 mo Faults caused by the customer are excluded.
- Diagnosis and repair
- 48 h Counted from when we receive the faulty unit.
- Delivered ready to install
- Ready Every unit passes all checks before delivery.
- The faulty unit reaches us
- Diagnosis
- Repair and test
- Returned to you
All four steps within 48 hours.
Get a quote for your checkouts
Tell us how many checkouts you have and how you use them; we will prepare a quote with the right quantity and delivery plan. You can also use this form to ask for a live demo.